How to Download Your Free CIBIL Report (Step-by-Step)

Most people only think about their CIBIL report when a bank asks for it. But by then, it’s usually too late.
You apply for a loan. The bank checks your credit profile. Something is wrong. Your application gets delayed or rejected. And that’s when you realize you should have checked your report earlier.
The good news is — you don’t have to wait for a bank to see your CIBIL report.
You can download it yourself, for free, directly from the official CIBIL website in just a few minutes.
And not only CIBIL — you are legally allowed to download your free credit report once a year from all four credit bureaus in India.
If you want quick access to all of them in one place, you can use:
This page lists the official free report links for all four bureaus so you don’t have to search for them separately.
In this guide, we’ll walk through the exact steps to download your CIBIL report.
Why you should check your CIBIL report regularly?
Your CIBIL report shows:
- All your loans and credit cards
- Your payment history month by month
- Your personal and contact details
- Your CIBIL score
If anything here is wrong, it directly affects your loan approvals and interest rates. Because it doesn’t cost anything, there’s really no reason to ignore it.
Step 1 — Visit the official CIBIL website
Go to: CIBIL
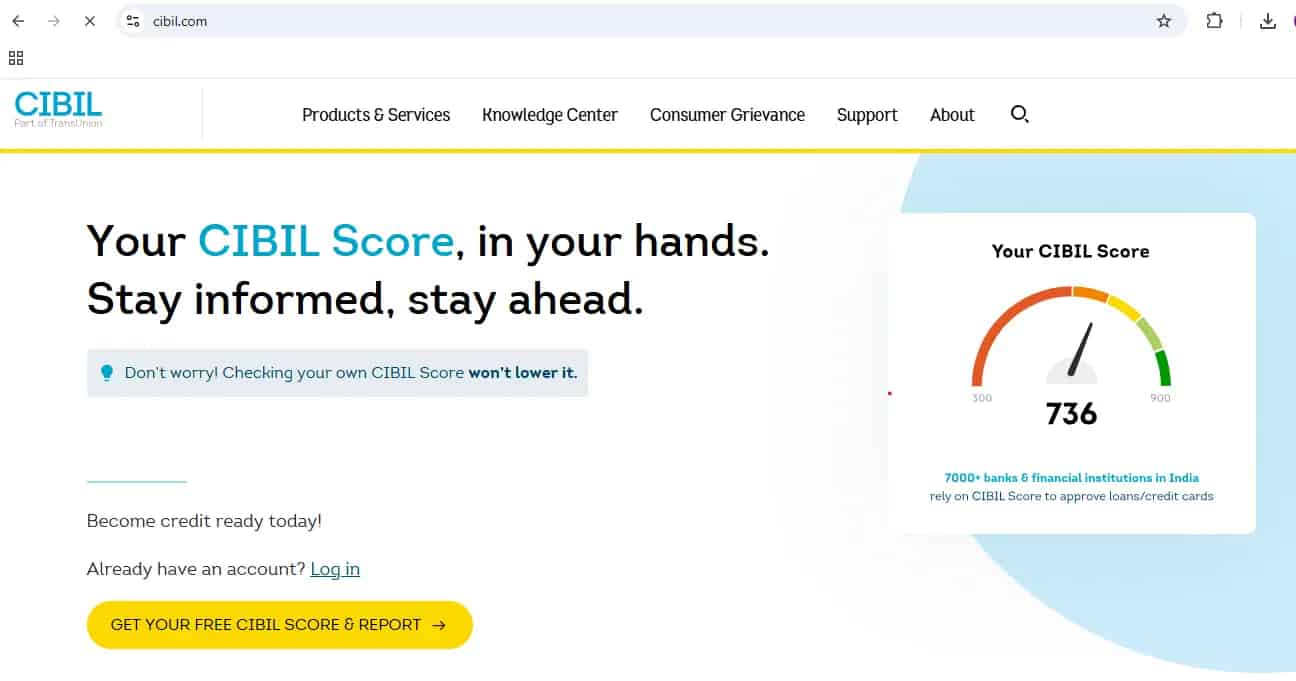
On the homepage, click:
Get your free CIBIL Score & Report
This starts the registration process.
Step 2 — Enter your details (All fields are required)
You will now see a form titled Enter Your Details.
Fill in:
- Email address (this becomes your username)
- Password and confirm password
- First name and last name
- ID Type and ID Number (such as PAN)
- Date of birth
- Pincode
- Mobile number
You will also see a declaration statement allowing CIBIL to verify your identity.
⚠️ Important — Be extremely careful here
While registering, every detail you enter becomes part of your CIBIL login identity.
If you make a mistake here (wrong email, wrong mobile number, wrong ID number, spelling mistake in name), correcting it later is very difficult and sometimes requires contacting support with proofs.
So before clicking Accept and Continue, double-check every field carefully.
This step takes one extra minute but can save you a lot of trouble later.
After verifying all details, tick the checkbox and click Accept and Continue.
Step 3 — OTP verification
An OTP will be sent to your registered mobile number. In some cases, you may also receive it on your email address, or on both.
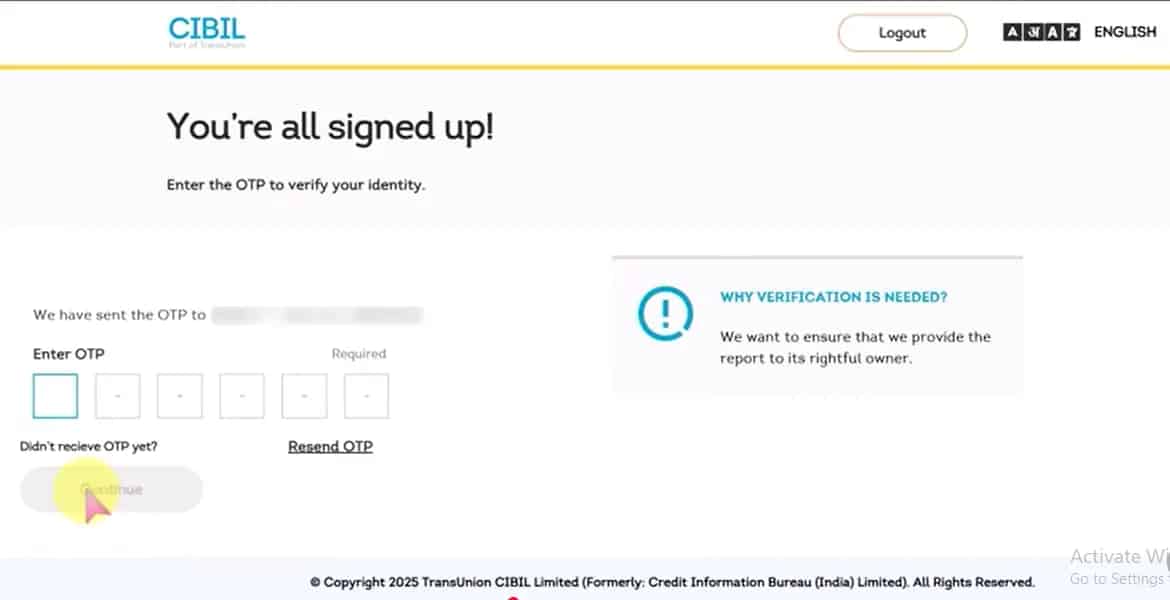
Enter the OTP you receive and click Continue.
Step 4 — “Is this a trusted device?”
You will now see a screen asking:
Is this a trusted device?
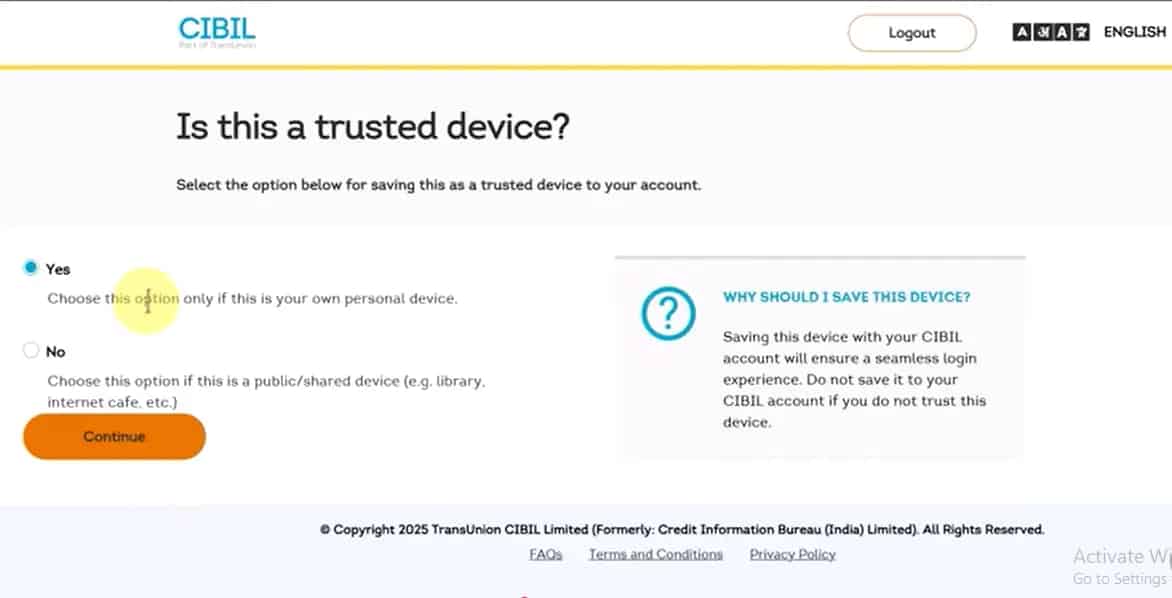
This is for security.
- Choose Yes only if you are using your personal phone or laptop
- Choose No if you are using a public or shared device
Then click Continue.
Step 5 — Signup successful → Go to Dashboard
You will see a message saying Signup Successful.
Click Go to Dashboard.
You are now inside your CIBIL account.
Step 6 — Finding the CIBIL Report section
On the right side of your dashboard, you will see a section titled:
CIBIL Report
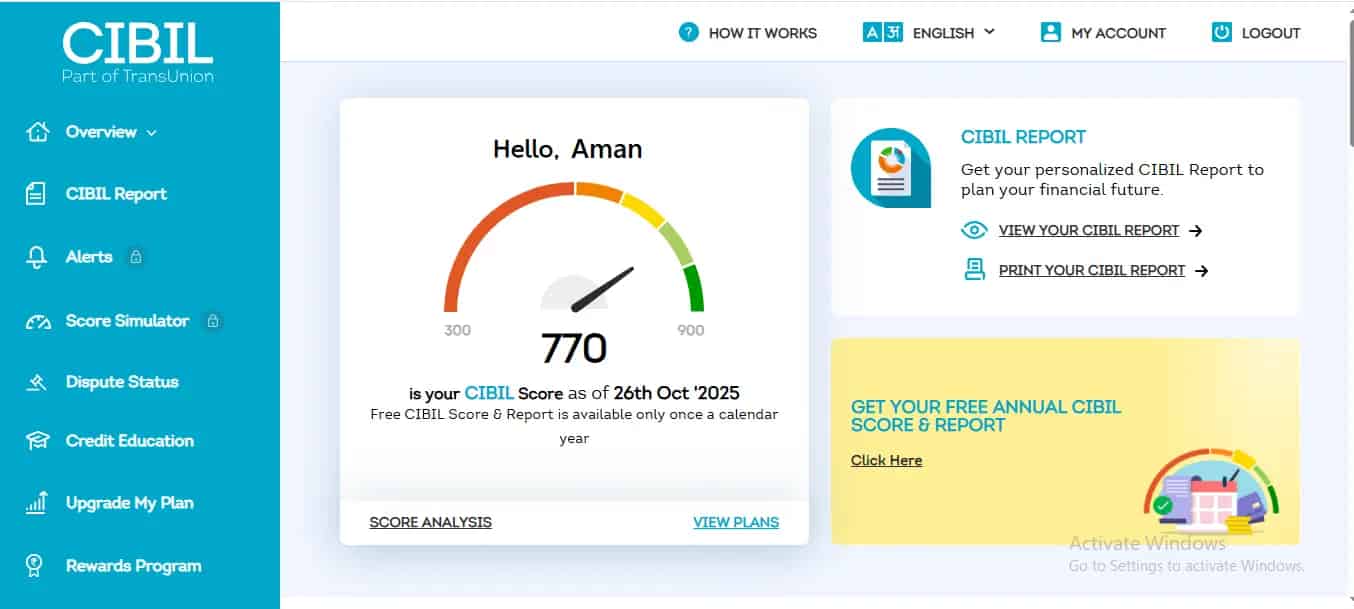
Under this, you will see two options:
- View Your CIBIL Report
- Print Your CIBIL Report
Click Print Your CIBIL Report.
Step 7 — Save your report as PDF
A new tab will open.
You may directly see the print window. If the print window doesn’t appear automatically, use your browser’s Print option or press Ctrl + P on your keyboard, then choose Save as PDF.
Save the file to your device
You now have your complete CIBIL report downloaded as a PDF.
If you are already registered (existing users)
If you already created an account before, you don’t need to register again.
Click Login on the homepage.
You will see two options:
- Login using OTP via mobile
- Login using username and password (your email is usually the username)
OTP verification will happen again in both cases.
You will again see the Trusted Device confirmation screen.
Choose the option carefully and click Verify and Proceed.
You will land on the dashboard, where you can follow the same steps to download the report.
What to do after downloading your report?
Once you have the report:
- Check personal details
- Check all loan and card entries
- Check payment history
- Look for any mistakes
If you find any error, you can follow our detailed dispute guide to fix it.
You can download reports from all four bureaus
Many people don’t know this, but you can download your free credit report once a year from:
- CIBIL
- Experian
- Equifax
- CRIF High Mark
Instead of searching each website separately, you can directly access the official links here:
This saves time and ensures you are using the correct pages.
Conclusion — Make this a yearly habit
Downloading your CIBIL report takes less than 10 minutes.
But it can save you from loan rejection, higher interest rates, and unnecessary stress later.
Make it a habit to check your credit report once every year. It keeps you aware, prepared, and in control of your credit profile.
0 Comments

No comments yet. Be the first to share your thoughts!